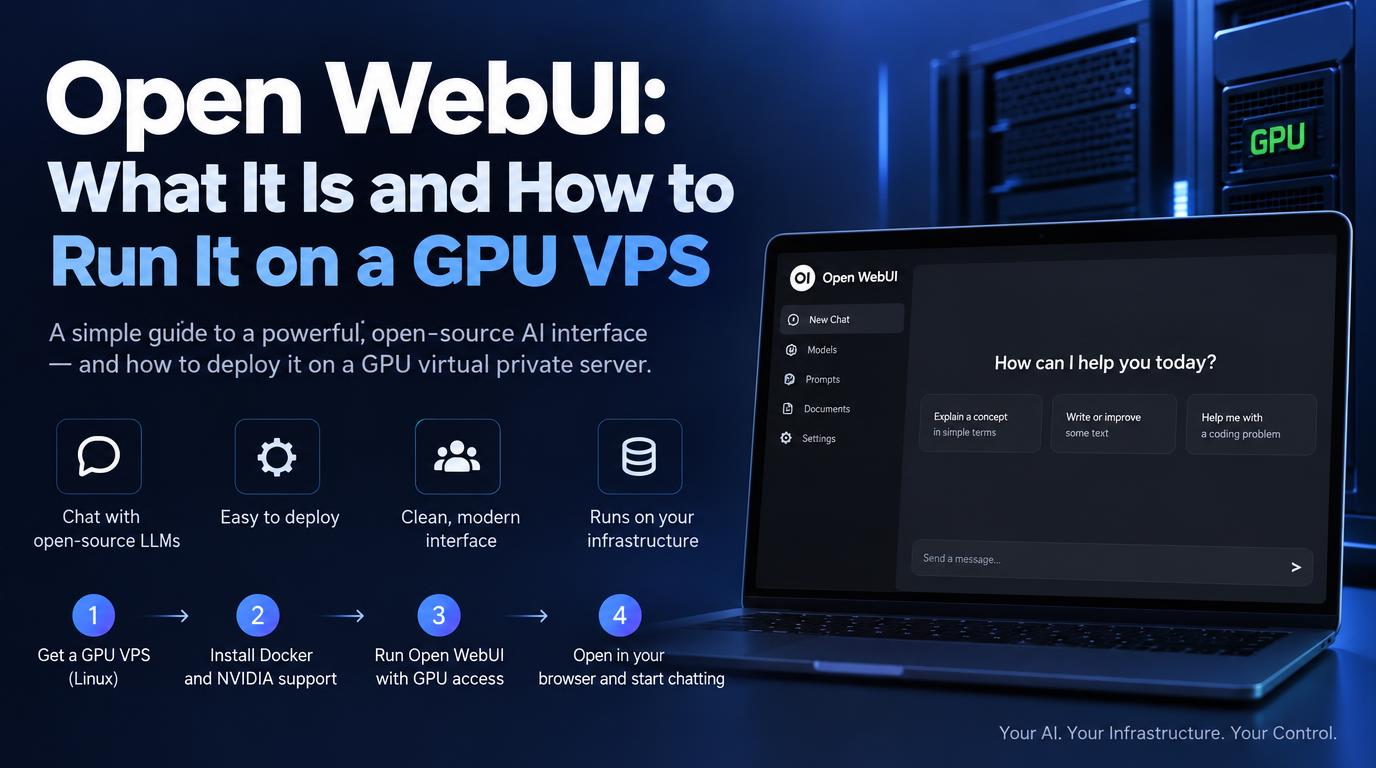
Open WebUI: What It Is and How to Run It on a GPU VPS
Open WebUI is a self-hosted, ChatGPT-style web interface for large language models. Pair it with Ollama on a rented GPU server and you get a private AI chat platform for your team, with your data staying on hardware you control. This guide explains what it is and walks through a full setup on an Ubuntu GPU VPS in about 30 minutes.
What is Open WebUI?
Open WebUI (originally called Ollama WebUI) is a free, self-hosted, browser-based front end for chatting with AI models. It runs as a single Docker container and talks to model backends rather than running models itself: most commonly Ollama for local open-weight models, and any OpenAI-compatible API (OpenAI, vLLM, LM Studio, OpenRouter and others) for hosted ones.
It suits three kinds of users:
- Individuals who want a polished interface for local models instead of a terminal.
- Teams and companies that need a shared, multi-user AI assistant without sending prompts or documents to a third party.
- Developers who want one interface to compare local and cloud models side by side.
Key features
Open WebUI has grown from a simple chat front end into a full team AI workspace. The highlights, per the official feature overview:
| Area | What you get |
|---|---|
| Chat | Any model (Ollama, OpenAI, Anthropic, OpenAI-compatible), side-by-side multi-model chats, file and image uploads, web search with citations, voice input and output |
| Knowledge and RAG | Document libraries with vector search (ChromaDB or PGVector by default), hybrid BM25 + vector search with reranking, or full-document injection |
| Custom models | Presets that bundle a base model with a system prompt, tools and knowledge, e.g. a “Code Reviewer” with your rules baked in |
| Extensibility | Python tools and functions, Pipelines, MCP servers and OpenAPI tool servers |
| Users and access | Multi-user from the start: roles, groups, per-model permissions, SSO/OIDC/LDAP, API keys |
| Admin | Usage analytics, model arena and leaderboards, banners, webhooks |
| Deployment | Docker, Docker Compose, Kubernetes/Helm or pip install open-webui |
A note on licensing: recent releases ship under the Open WebUI License. Since v0.6.6 (April 2025) it adds a branding clause to the earlier BSD-3 terms: you may use, modify and host it freely, but may only remove the Open WebUI name and logo with 50 or fewer users in a 30-day period, or with an enterprise license. Because of that clause it is source-available rather than OSI-approved open source.
Why a GPU VPS, and how big?
The GPU’s video memory (VRAM) decides which models you can run; everything else is secondary. Open WebUI itself is light and runs on almost anything. The model server is what needs the GPU: a 7–8B model generates text several times faster on a GPU than on CPU cores, and larger models are impractical without one.
A rented GPU VPS (or cloud GPU instance) gives you that hardware by the hour, without buying a card. Rough sizing for 4-bit quantized models, the default for most Ollama downloads (approximate; long context windows need more):
| VRAM | Typical GPUs | Comfortable model size | Good for |
|---|---|---|---|
| 12–16 GB | RTX A4000, T4 (16 GB) | up to ~14B | Personal use, small teams, coding helpers |
| 24 GB | RTX 4090, L4, A10 | up to ~32B | Strong general chat for a team |
| 48 GB | L40S, RTX A6000 | up to ~70B (tight) | Near-frontier open models |
| 80 GB+ | A100, H100 | 70B with long context, several models loaded | Larger organizations, concurrent users |
When choosing a provider, check four things:
- NVIDIA GPU with a driver-ready image. Many providers offer Ubuntu images with drivers preinstalled, which saves the first step below.
- Disk. Models are large: budget 100 GB+ of fast SSD.
- Billing. Hourly billing suits experiments; monthly suits an always-on team server. Stopped instances may still bill for storage.
- Data location. For privacy-sensitive use, pick a region that matches your compliance needs.
This guide assumes Ubuntu 22.04 or 24.04, root or sudo access, and a domain name pointing at the server’s IP.
Step-by-step setup
The target layout is three containers on one server: Caddy (HTTPS) in front of Open WebUI, which talks to Ollama, which uses the GPU. Only Caddy is reachable from the internet.
1. Update the server and install the NVIDIA driver
Skip the driver install if your provider’s image already has one; nvidia-smi will tell you.
sudo apt update && sudo apt upgrade -y
sudo ubuntu-drivers install   # picks the recommended driver
sudo reboot
After the reboot, nvidia-smi should list your GPU, its VRAM and the driver version.
2. Install Docker
curl -fsSL https://get.docker.com | sudo sh
sudo usermod -aG docker $USER   # log out and back in afterwards
3. Install the NVIDIA Container Toolkit
This lets Docker containers use the GPU. Commands follow NVIDIA’s install guide:
curl -fsSL https://nvidia.github.io/libnvidia-container/gpgkey \
  | sudo gpg --dearmor -o /usr/share/keyrings/nvidia-container-toolkit-keyring.gpg
curl -s -L https://nvidia.github.io/libnvidia-container/stable/deb/nvidia-container-toolkit.list \
  | sed 's#deb https://#deb [signed-by=/usr/share/keyrings/nvidia-container-toolkit-keyring.gpg] https://#g' \
  | sudo tee /etc/apt/sources.list.d/nvidia-container-toolkit.list
sudo apt-get update
sudo apt-get install -y nvidia-container-toolkit
sudo nvidia-ctk runtime configure --runtime=docker
sudo systemctl restart docker
Test it: docker run --rm --gpus all ubuntu nvidia-smi should print the same GPU table from inside a container.
4. Write the Docker Compose file
Create a folder (e.g. ~/openwebui) and save this as docker-compose.yml. Replace the domain and generate a secret with openssl rand -hex 32.
services:
  ollama:
    image: ollama/ollama:latest
    restart: unless-stopped
    volumes:
      - ollama:/root/.ollama
    deploy:
      resources:
        reservations:
          devices:
            - driver: nvidia
              count: all
              capabilities: [gpu]

  open-webui:
    image: ghcr.io/open-webui/open-webui:main
    restart: unless-stopped
    depends_on:
      - ollama
    environment:
      - OLLAMA_BASE_URL=http://ollama:11434
      - WEBUI_SECRET_KEY=change-me-to-a-long-random-string
      - WEBUI_URL=https://chat.example.com
    volumes:
      - open-webui:/app/backend/data

  caddy:
    image: caddy:2
    restart: unless-stopped
    ports:
      - "80:80"
      - "443:443"
    volumes:
      - ./Caddyfile:/etc/caddy/Caddyfile
      - caddy_data:/data

volumes:
  ollama:
  open-webui:
  caddy_data:
Why this shape: Ollama gets the GPU, Open WebUI reaches it by service name, and neither publishes a port to the internet. The open-webui volume holds users, chats and settings, so it survives upgrades.
If you prefer a single container, the project also publishes a bundled image with Ollama inside (ghcr.io/open-webui/open-webui:ollama, run with --gpus all). Separate containers are easier to upgrade and debug, which is why this guide uses them. See the Docker image reference.
5. Add the Caddyfile
In the same folder, create Caddyfile:
chat.example.com {
    reverse_proxy open-webui:8080
}
Caddy fetches and renews a Let’s Encrypt certificate automatically, as long as the domain’s DNS A record points at the server and ports 80 and 443 are open.
6. Start everything
docker compose up -d
docker compose logs -f open-webui   # wait for the startup to finish
Open https://chat.example.com. The first account you create becomes the admin, so do this immediately after launch.
Securing it
A GPU server with an open chat interface is an attractive target: anyone who gets in can burn your GPU hours and read your documents. The compose layout above already keeps Ollama and Open WebUI off the public internet. Add these:
- Firewall. Allow only SSH and web traffic:
sudo ufw allow OpenSSH sudo ufw allow 80,443/tcp sudo ufw enable
Note that ports published by Docker can bypass ufw rules, which is why the compose file publishes nothing except Caddy’s 80 and 443. Also check your provider’s cloud firewall. - Never expose Ollama’s port 11434. Ollama’s API has no authentication; an open port means free GPU access for anyone who scans for it.
- Control sign-ups. In Admin Panel → Settings → General, set new sign-ups to “pending” (admin must approve) or disable them and create accounts yourself. Or set
ENABLE_SIGNUP=falsein the environment once your admin exists. - Use SSH keys only. Disable password login in
/etc/ssh/sshd_config(PasswordAuthentication no). - Keep a real
WEBUI_SECRET_KEY. It signs login sessions; a fixed, random value also keeps users logged in across restarts. - Back up the data volume. Users, chats and knowledge bases live in the
open-webuivolume. A nightly copy of it (with the stack stopped, or via a volume snapshot) is enough for most setups. - For teams, connect SSO. Open WebUI supports OIDC providers such as Microsoft Entra ID, Google and Authentik, so people use their existing company login.
Models, updates and troubleshooting
Pulling your first model
As admin, go to Admin Panel → Settings → Models and enter a model name from the Ollama library, or pull from the command line:
docker compose exec ollama ollama pull llama3.1:8b
docker compose exec ollama ollama list
Pick models that fit the VRAM table above; the library page lists each model’s download size, a close proxy for the VRAM it needs. To confirm the GPU is doing the work, start a chat and run docker compose exec ollama ollama ps: the processor column should read 100% GPU.
To add hosted models too, go to Admin Panel → Settings → Connections and add an OpenAI-compatible endpoint with its API key. Local and cloud models then appear in the same model picker.
Updating
cd ~/openwebui
docker compose pull
docker compose up -d
Your data persists in the volumes. Read the release notes before major upgrades and back up the open-webui volume first. For production, pin a version tag (e.g. ghcr.io/open-webui/open-webui:vX.Y.Z) instead of :main so upgrades happen when you choose.
Common problems
| Symptom | Likely cause | Fix |
|---|---|---|
Replies are slow; ollama ps shows CPU | Container can’t see the GPU, or the model is bigger than VRAM | Re-run the docker run --gpus all ubuntu nvidia-smi test; choose a smaller model or quantization |
| “Ollama connection failed” in Open WebUI | Wrong OLLAMA_BASE_URL | Use http://ollama:11434 (the service name), not localhost |
| GPU errors after a system update | Kernel and driver out of step | Reboot; if needed reinstall the driver with ubuntu-drivers install |
| HTTPS certificate not issued | DNS not pointing at the server, or ports 80/443 blocked | Check the A record and both firewalls, then docker compose restart caddy |
| Everyone was logged out after a restart | WEBUI_SECRET_KEY not set | Set a fixed value in the compose file |
Conclusion
With one GPU server, three containers and about 30 minutes, you get a private, multi-user AI assistant that runs open models on hardware you control and can still call cloud models when you want them. Start with a 24 GB GPU and an 8–14B model, lock down sign-ups, and grow into knowledge bases, custom models and SSO as your team adopts it.